Contibutions to AVRly are more than welcome!
If you feel you could improve on a module in this collection, or add new modules for other components users might like to see, it would be great to have you involved! Contributors will be credited on the site and in Copyright notices in each file they worked on. Some examples of modules which other users may find useful are:
- Drivers for AVR peripheral features (interrupts, timers, ADC etc).
- Drivers to interface with sensors.
- Display drivers.
- User input drivers (buttons, encoders, touchpads etc).
- Whole projects implementing several other modules. These will need to be documented carefully with their own guides in .md files, and Kicad schematics and files for any hardware needed.
Style Guide
For a comprehensive guide on layout, style and documentation, see the Anatomy of Embedded Firmware page. For even more detail on this, see the Barr Group C Coding Standard. Modularity and compartmentalisation are key for ease of maintainance and code re-use, just because this isn't C++ doesn't mean we have to throw away all those object oriented principles! If you want to extend a module in this collection to provide an extra layer of functionality for a specific purpose, the facade pattern should be used. For an example on this, see the log system module and observe how the USART driver is implemented, hiding it's inner workings from the layer above.
Templates
The Github repository contains templates for each file type mentioned in the Anatomy of Embedded Firmware guide. These templates will provide the bare-bones file structure for your project, along with a Makefile to assist with building and compiling your application.
What to Avoid
Try to keep drivers and modules concise. Each driver should perform a specific set of tasks well, and should expose the least possible data from within the source code. To share data between files, queues and/or getter and setter functions should be used to return data, rather than using extern variables in the header file (where possible).
Avoid using bulky standard library functions as these can link in alot of unwanted code. Instead, it's sometimes better to provide your own stripped back implementation of these functions. That doesn't mean don't use the standard library of course, just have some awareness of the overhead of external code. You can see the code size of the compiled binary by running make size, and you can get an idea of what the linker script is doing by running make disassemble, which will generate a .lst file containing an approximate assembly version of the code.
Bugs
Known bugs in your own work should be documented in the Doxygen special comment block at the top of the file, using the @bug command. Ideally, don't submit work with known bugs, but if it's minor, the module generally works well and you feel you need other contributors to help you solve the issue, thats what @bug is there for. Opening and solving "Issues" on the Github repo is also encouraged where necessary.
Development Process
My personal preference for managing the Git workflow is Github Desktop as I think it provides the most clarity, but some users may prefer to use Git in the command line. The steps described below are for Github Desktop. I'll outline the basics here, but for an in-depth guide on the git workflow, see their documentation here.
Cloning/Forking the Repository
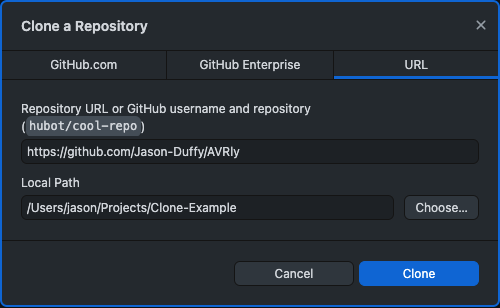
In the File menu, go to Clone Repository, then select the URL tab. In the URL field, paste in the following: https://github.com/Jason-Duffy/AVRly
In the Local Path field, select the location you'd like your local repo to be stored. Ensure the last directory in the path is empty. If the location you want has files in already, you can just create a new subdirectory by adding the new folder name on the end of the path. Then click Clone.

As you will not have write access to this repository, Github will create a fork, and will ask you how you plan to use it. Select To contribute to the parent project if you plan on doing so, otherwise select For my own purposes, then click Continue.
Workflow
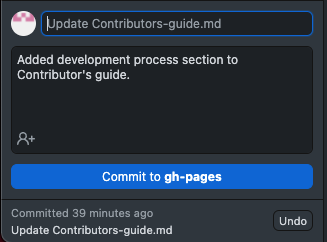
Use the development branch while working on your code, try to make regular commits with a message briefly explaining the changes you have made. This is valuable for yourself and others to see what has been done, when and why. Of course when working on your cloned or forked repo you can create as many branches as youd like and call them whatever you like - this is just a guide.

Once you reach a stage where your code is working as you'd like, it's a good idea to either merge the changes on development into your main branch, or create a pull request to pull your changes into main branch. When working on your own, merging is just fine, however when collaborating with others, pull requests are generally favoured.
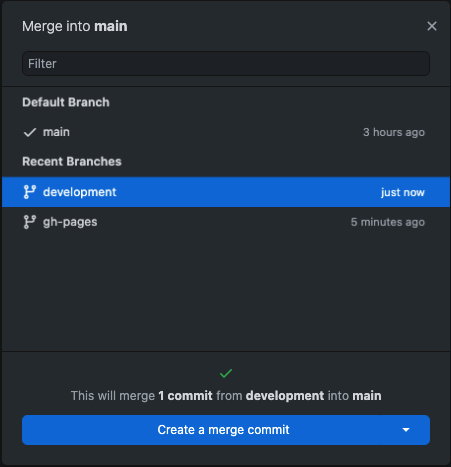
To merge into main, first ensure all your local changes have been committed to the development branch, then switch to the main branch. Go to the Branch menu, then click Merge into current branch, and select the branch you'd like to merge into main.

Now that the main branch has been brought upto date, you are free to switch back to development and fiddle about with the code. If you go down a particular route and find it was huge mistake and everythign breaks, you still have your main branch intact. Your commits can also be reverted in the History tab. You can push those commits from your local repo to the remote repo (cloud storage with Github online) by clicking Push origin. If changes have been made on Github online, you can bring these onto your local copy by clicking Fetch Origin.
You may be wondering about the gh-pages branch - that's the source Github Pages uses to build this website, so unless you want to test how things will display in a web browser, you can just ignore that branch.
Submitting a Pull Request
Once you're confident your module is complete, has been tested and everything works as it should, you can submit a pull request for the changes to be pulled into the AVRly public main branch. Pull requests will be reviewed before being accepted, so please bear with me on those.
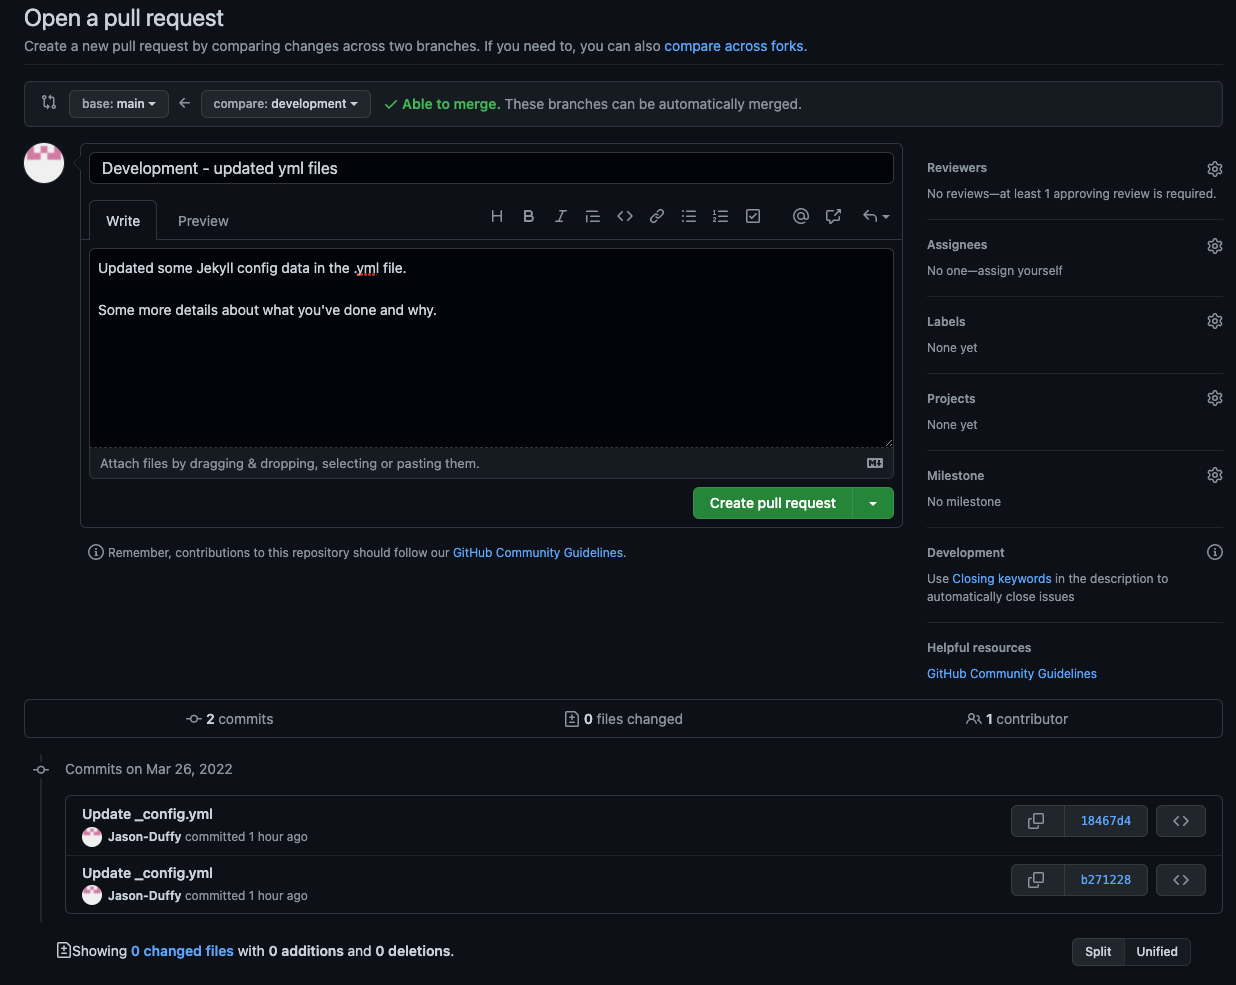
Make sure you have the right branch selected (usually the main branch in your local repo), and click Create Pull Request. This will open a new browser window for Github online, where you can configure your request. The base is the main branch on the public AVRly repo, and compare is the forked branch with changes we would like to pull into the base.

Give as much information as you can about the changes you made and why you made them. This will be used to review your changes and decide whwther to accept or reject them. Once this is done, click "Create Pull Request" and it will be submitted for review. If your request is rejected, please try not to take it too personally - I'll try to provide as much information about why the request was declined on code review, and give pointers where I can.